First off, look, no tarp! The sun made a showing and I was able to climb around on the boat! I even left the tarp off for a couple of days! I won't complain about the heat because that seems a bit whiney after all the complaining about rain.
Last week's accomplishments:
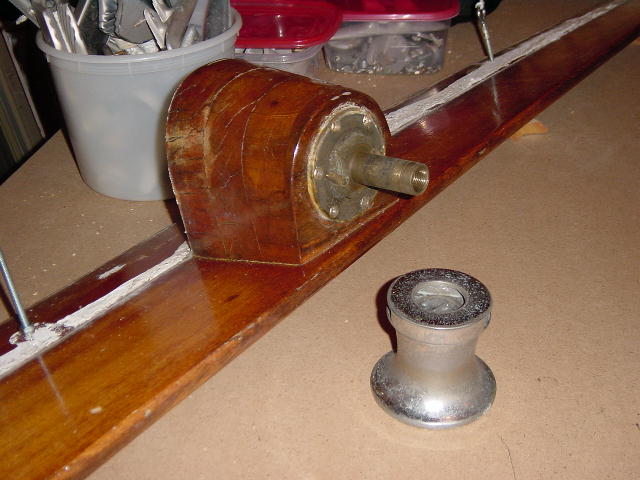
- I ordered wood and built some staging. (Pictured above.) Very straigthforward - the long pieces are 6 feet, the short ones are 3 feet and there's a couple of hinges at the tops so they'll collapse and store against a wall. I bought 2 12' 2x10 pieces thinking I'd place them next to each other for a larger standing area, but I found them a bit too flexible for my taste. Adding my ladder under one of them stiffens it up really nicely, and lets me place the bases farther apart.
- I made 3 inch circles (4) to represent bases for a stern rail, taped them to the aft deck where there would be room under them for backing plates, and took measurements. I'll be ordering stern rails from Tops in Quality as soon as I can get the guts to send the email. ($564.50 for their cheap version with a slight modification plus shipping. Yikes!) The costs are mounting, but I feel pretty strongly that this is a safety feature needed for sailing with toddlers.
- Saturday, my sailing buddy Scott came over to help out. First off - he figured out my hanging coaming dilemma in about two seconds flat. The jerk. I'll post a picture as soon as I get back out there and take one.
- Next, we removed the chain plates from the side decks. Not too bad - only one bolt was rusted/corroded enough that it had to be broken to be removed. The chain plates were absolutely NOT water tight and there were plenty of signs to indicate water frequently enters through these areas, including some rotting plywood knees. A couple of the chain plates were bent, but all seemed pretty sound. Still, I'll be replacing them all and fixing the knees. I have one more to remove, the chain plate for the back stay, which has a stripped bolt that needs to be cut off.
- Next, I decided to try and determine where to start cutting the deck. First, I thunked around with a shot-filled mallet to try and determine the delaminated spots. There were obvious places (thud) and solid places (ping), but mostly, for me, it was guessing if it was more "thud" or "ping" on the inbetween spots. So I opted to drill exploratory holes in the deck to try and determine the areas I'll need to cut. Using my sharpie, I marked a few spots where wet core came out when I drilled. Then it occurred to me: "wet" does not mean "delaminated", nor does "delaminated" mean "wet". Hmmm... So, I got another beer, drilled a few more holes, and invited Scott for dinner.
Yesterday, I raced home from work to cover everything again because of threatening thunderstorms. Nothing last night, but tonight, we got dumped on.